
When Is the Best Time to Install Sod in Houston?

Speedy Grass & Nursery • March 16, 2026

Share this article

Houston homeowners do not have to wait for one perfect calendar date before starting a sod project. Fresh sod can be laid during much of the year when the soil is prepared, the grass is available and the new lawn can be watered correctly. Still, some seasons give warm-season grasses a more comfortable start than others.

For most Houston-area properties, spring is one of the strongest windows for laying St. Augustine, Bermuda or Zoysia sod. The soil is warming, daylight is increasing and the grass is beginning its active growing season. Those conditions help roots move into the prepared soil before the most intense summer heat arrives.

The best timing depends on more than the month. Recent weather, soil moisture, drainage, irrigation, grass variety and the homeowner’s schedule all matter. A well-prepared yard in April may be a better candidate than a rushed project in March, even though both fall within the spring season.

This guide explains how homeowners in Houston, Richmond, Rosenberg, Sugar Land, Missouri City and surrounding Fort Bend County communities can recognize a good sod window and avoid timing mistakes that make establishment harder.

Can Sod Be Laid in Houston at Any Time of Year?

Yes, sod can be laid during different seasons in Southeast Texas, but year-round possibility does not mean every day offers the same conditions. Texas A&M AgriLife Extension notes that warm-season turfgrass sod can be established during the year, with spring, late summer and fall identified as especially favorable planting periods.

Sod has an advantage over seed because it arrives as mature turf with an existing root layer. That gives the yard immediate coverage and reduces the amount of exposed soil. The new roots still need to move from the sod into the soil below, however, and that process is easier when the grass is actively growing.

Houston’s relatively mild climate creates more flexibility than homeowners may have in colder regions. Even so, winter dormancy, heavy spring rain, summer heat and dry fall weather each create different challenges. The best time is the period when the grass can root without being pushed into avoidable stress.

Why Spring Is Such a Strong Sod Season in Houston

Spring combines warming temperatures with a long growing season ahead. St. Augustine, Bermuda and Zoysia are warm-season grasses, so they respond as the soil and air become consistently warmer.

National Weather Service climate normals illustrate the transition. Normal early-March highs in Houston are around the low 70s, while early-April highs move into the upper 70s. Nighttime temperatures also trend upward. That gradual warming helps dormant turf resume active growth and gives newly laid sod better conditions for root development.

Spring also provides time for the lawn to establish before winter. A sod project completed during a favorable spring window can spend months developing roots, spreading and adapting to the property.

That does not make every spring day ideal. Saturated soil after heavy rain can delay preparation. A late cold front can slow growth. A sudden stretch of hot, windy weather can dry new sod quickly. The season is favorable, but the specific weather window still matters.

Is March Too Early to Lay Sod?

March can be a good time to lay sod in Houston, particularly later in the month, but homeowners should judge the lawn and weather rather than relying on the calendar alone.

Early March may still include cool nights and occasional cold fronts. Warm-season grass may only be beginning to green up. Sod can survive these conditions when it is healthy and cared for correctly, but rooting may occur more slowly than it would during consistently warmer weather.

A March project makes the most sense when the soil is workable, the yard is not waterlogged, the grass is showing active growth and the irrigation plan is ready. The forecast should also be checked for unusually cold weather immediately after delivery.

Homeowners should not rush simply because spring has officially begun. Waiting a week or two for a better weather pattern can be smarter than placing sod into saturated soil or just before a sharp temperature drop.

Why April Is Often the Sweet Spot

April often offers one of the best combinations of warmth and manageable weather for Houston-area sod projects. Warm-season grasses are usually moving into stronger growth, yet the most punishing part of summer has not arrived.

Moderate spring temperatures make it easier to keep the sod and soil evenly moist. The homeowner still needs to water carefully, but evaporation is generally less aggressive than it is during July or August.

April also gives new roots time to develop before summer. A lawn that begins establishing in April is usually better prepared for June heat than a lawn first laid during a major summer hot spell.

The tradeoff is spring rainfall. Fort Bend County can receive heavy storms that leave clay soil soft, sticky or saturated. The project should wait until the soil can be graded and walked on without creating deep ruts or compaction.

Can Sod Be Laid in May?

May is still a strong planting month, but the project begins moving closer to summer conditions. Temperatures rise, daylight increases and new sod may dry faster between watering cycles.

The advantage is that St. Augustine, Bermuda and Zoysia are typically growing actively. Healthy sod placed on properly prepared soil can begin rooting quickly when moisture is managed well.

The challenge is that homeowners have less room for delay. Sod should not sit on pallets while the yard is still being cleared or graded. The irrigation system should be tested before delivery, and enough help should be available to move through the project efficiently.

May projects can be successful, but they require closer attention to moisture than an early-spring project. The sod and the soil beneath it must remain appropriately moist without creating standing water.

What About Summer Sod Projects?

Sod can be laid during a Houston summer, and warm-season grasses are built for heat once established. Newly laid sod is not yet established, however, so it is more vulnerable to drying.

During June, July and August, the window between delivery and watering becomes especially important. Pallets can build heat, exposed edges can dry quickly and missed irrigation coverage may cause visible stress in a short period.

A summer project should begin with a completely prepared yard and a reliable watering system. Work may need to be organized in sections so completed areas can be watered before the entire property is finished.

Summer is not automatically the wrong time, but it is less forgiving. Homeowners who cannot monitor moisture closely may find spring or early fall easier to manage.

Is Fall a Good Time to Lay Sod?

Fall can also be a favorable sod season in Houston, especially while warm-season grass is still actively growing. Late summer and fall are included among the favorable sod-establishment periods in Texas A&M guidance.

The main timing concern is allowing roots to develop before colder weather slows the grass. Early fall generally provides a longer establishment window than late fall.

Fall may also bring lower temperatures and reduced evaporation compared with midsummer, but rainfall can be unpredictable. The new lawn still needs consistent moisture until the sod has rooted into the soil.

A fall project should not be postponed indefinitely. Grass laid very late in the season may remain only partially rooted while it enters dormancy, requiring more careful winter management.

Winter Sod Is Possible, but Rooting Will Be Slower

Houston’s mild winters make dormant-season sod projects possible, but homeowners should understand that the grass may not establish at the same speed it would in spring.

Warm-season sod may arrive brown or may turn brown after cold weather. That appearance does not necessarily mean it is dead. The grass can remain dormant until warmer conditions return.

The soil still needs preparation, the sod still needs firm contact and the root zone must not be allowed to dry severely. At the same time, winter rainfall and lower water use mean overwatering can become a problem.

Winter may be practical when erosion control or construction scheduling requires immediate ground coverage. For homeowners focused primarily on rapid rooting and visible green growth, spring usually offers a more satisfying window.

The Best Day Matters as Much as the Best Month

A favorable month can still contain a poor installation day. The weather immediately before and after delivery should be considered.

Avoid placing sod when the yard is saturated and muddy. Foot traffic and equipment can compact wet soil, create ruts and damage the final grade. The soil should be moist and workable rather than waterlogged.

Extremely hot, dry or windy days also create additional stress. Wind can pull moisture from exposed sod, especially along edges and seams. A calmer, moderate day gives the homeowner more time to place and water the material correctly.

Severe thunderstorms can interrupt the work, move loose soil and create drainage problems. Checking the forecast does not guarantee perfect weather, but it can prevent obvious scheduling mistakes.

Watch the Grass, Not Just the Air Temperature

The condition of the grass provides useful timing information. Warm-season sod that is actively growing and producing healthy new tissue is generally better positioned to establish than fully dormant turf.

This does not mean the sod must be at peak summer color. It means the plant is moving into or already within its active growth period.

Grass type matters as well. Bermuda generally prefers abundant sunlight and is known for rapid establishment. St. Augustine is widely used in Houston-area lawns and offers more shade tolerance than Bermuda. Zoysia includes several varieties with different textures, growth habits and light requirements.

Customers can review the sod varieties available from Speedy Grass & Nursery and call or visit to discuss which grass is best suited to the property.

Make Sure the Yard Is Ready Before Choosing a Date

The best planting season cannot overcome poor site preparation. Old grass, weeds, roots, rocks and construction debris should be removed before the sod arrives.

Drainage should be evaluated and low areas corrected. The final soil surface should be smooth, firm and slightly below sidewalks and other hard surfaces so the finished sod sits at the proper height.

The irrigation system should be tested in advance. Broken heads, dry corners and excessive overlap should be corrected before fresh sod covers the yard.

The February guide, How to Prepare Your Yard for Spring Sod Installation in Fort Bend County, covers the preparation process in greater detail.

Coordinate Delivery So the Sod Can Be Used Promptly

Sod is a living, perishable product. The yard should be ready before delivery, and the project should be organized so the material can be placed promptly.

Leaving pallets in the sun while grading, measuring or weed removal continues wastes valuable time. During warm weather, stacked sod can build heat and lose moisture.

Access should also be discussed before delivery. Gates, driveways, soft ground, parked vehicles, overhead branches and neighborhood restrictions may affect where the pallets can be placed.

Speedy Grass offers delivery within approximately 100 miles of Richmond. Customers should call to confirm current availability, delivery details and the amount needed for the project.

Do Not Forget the First Weeks After the Sod Is Laid

Choosing a good date is only the beginning. The sod must remain in close contact with the soil, and the root zone needs consistent moisture during establishment.

Watering should begin promptly. The goal is to moisten the sod and the soil below without creating runoff or standing water. Weather, soil type, shade and sprinkler coverage all affect how often water is needed.

Foot traffic should be limited while the roots are developing. Corners, slopes and edges should be checked because they often dry faster than the center of the lawn.

Mowing should wait until the sod has begun rooting and the grass requires a cut. The mower should not pull or shift the pieces, and only a modest portion of the blade height should be removed at one time.

Choose the Window That Gives the Lawn the Best Start

For many Houston-area homeowners, late March through May provides an excellent window for laying St. Augustine, Bermuda or Zoysia sod. April is often especially attractive because the grass is entering active growth and the harshest summer heat is still ahead.

That does not make spring the only option. Sod can be laid during summer, fall and even winter when the conditions are understood and the care plan matches the season.

The best time is when the yard is fully prepared, the grass is appropriate for the site, the forecast is reasonable, the irrigation system works and the sod can be placed without delay.

Speedy Grass & Nursery supplies fresh sod for pickup or delivery but does not provide installation, removal, grading or other labor services. For availability and help comparing St. Augustine, Bermuda and Zoysia varieties, call (281) 240-2261 or visit 9807 Harlem Road in Richmond, Texas . Speedy Grass serves Houston, Richmond, Rosenberg, Sugar Land, Missouri City and surrounding communities.

Recent Posts

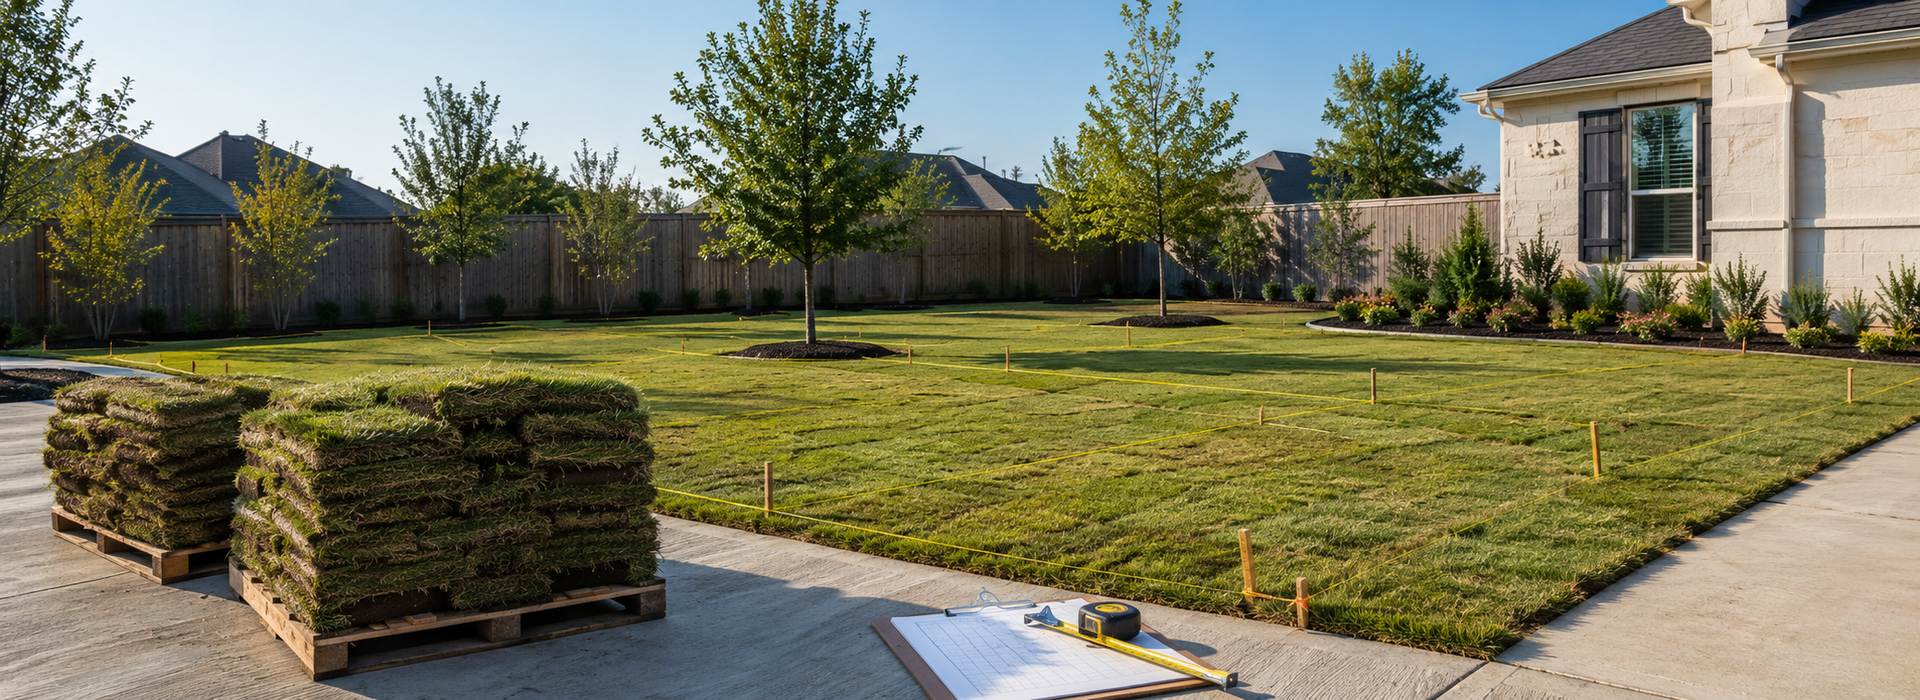
Fresh sod and a prepared Houston yard ready for summer installation and watering.
By Speedy Grass & Nursery July 15, 2026
Sod can be installed in July in Houston when the soil, delivery, installation crew and watering plan are ready. Learn what to do before ordering.
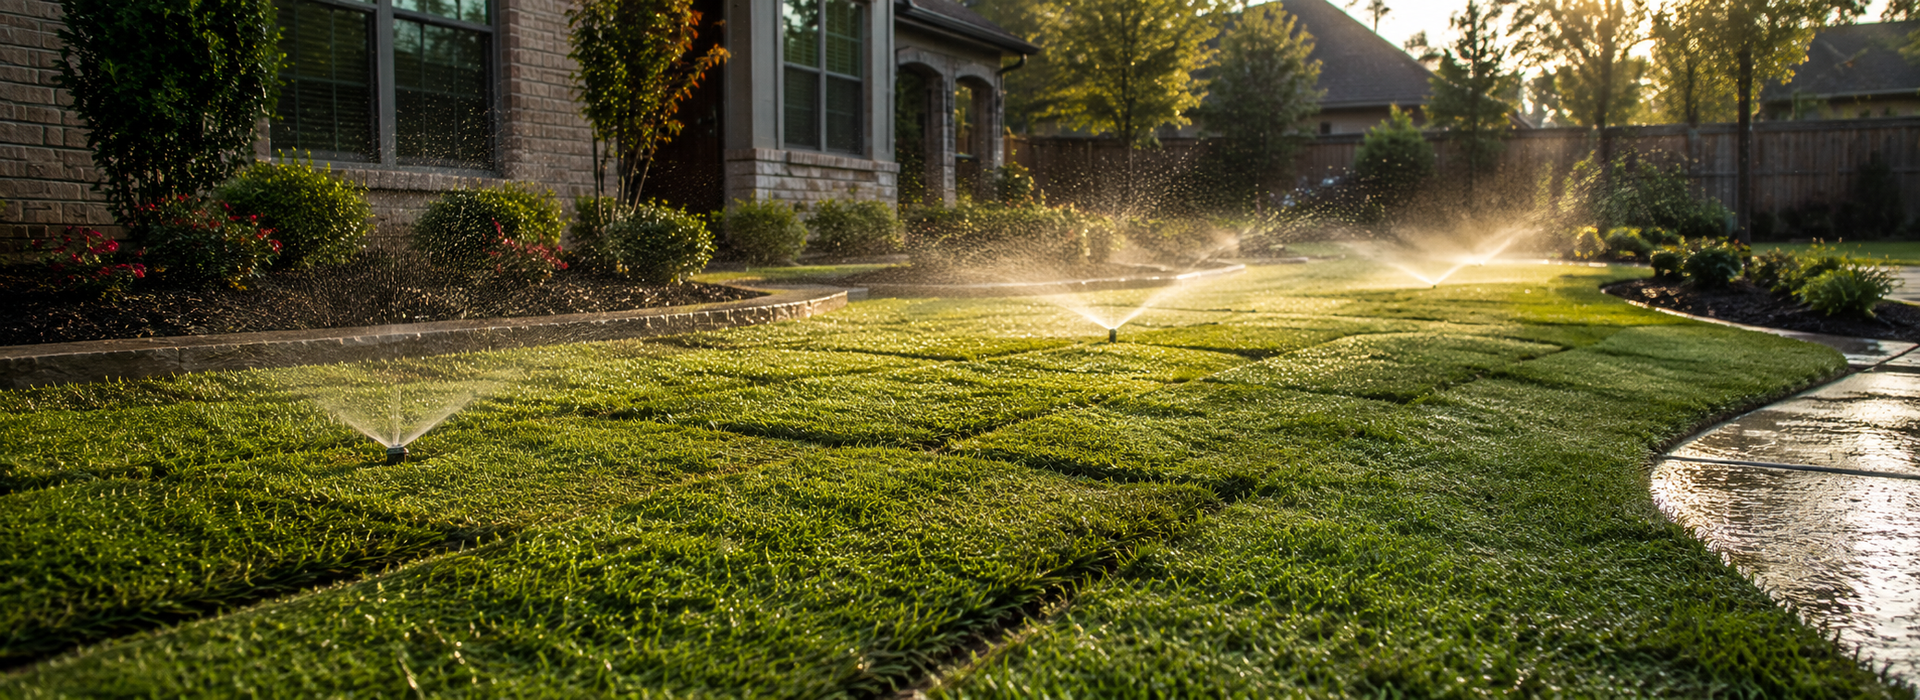
Freshly installed sod receiving early-morning irrigation during a Houston summer.
By Speedy Grass & Nursery June 15, 2026
Learn how to water new sod in Houston heat, prevent dry seams and runoff, adjust for rain and help St. Augustine, Bermuda or Zoysia take root.
Houston-area yard divided into measured sections beside pallets of fresh sod.
By Speedy Grass & Nursery May 15, 2026
Learn how to measure a yard, estimate sod pallets and allow for cuts. Includes examples for Richmond, Sugar Land and Houston-area projects.
Different varieties of healthy grass available from Speedy Grass & Nursery.
By Speedy Grass & Nursery April 15, 2026
Compare St. Augustine, Bermuda and Zoysia to choose the best grass for Houston lawns based on shade, sunlight, traffic, drought and maintenance needs.
Prepared Fort Bend County yard with smooth soil ready for spring sod delivery.
By Speedy Grass & Nursery February 16, 2026
Prepare your Fort Bend County yard for spring sod with practical guidance on soil testing, drainage, grading, irrigation, measurements and delivery timing.
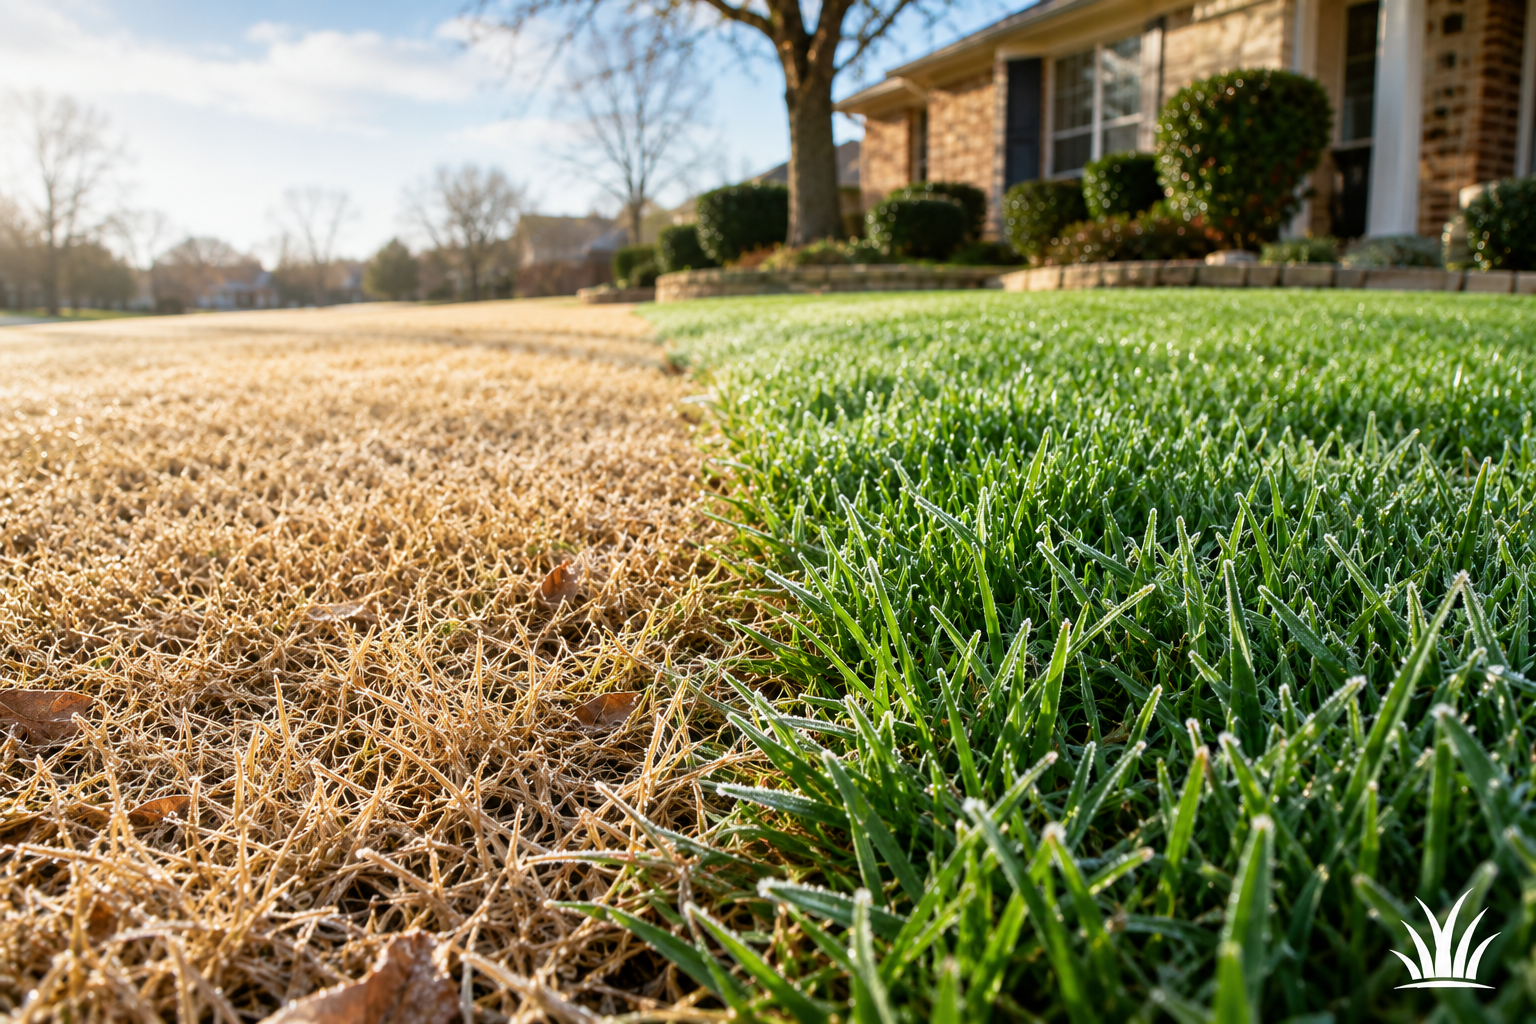
Dormant brown Houston-area lawn after a winter freeze beside healthy green grass.
By Speedy Grass & Nursery January 15, 2026
Is a brown Houston lawn dead or dormant after a freeze? Learn how to recognize winter dormancy, cold damage and grass that may need replacing.

December 12, 2025
Rethink expectations in deep shade Grass is a sun plant. Under heavy canopy, even St. Augustine will thin over time. In those pockets, the better answer is to pivot to beds. Build a simple shape, improve the soil, and plant for texture and color that read well in low light. The yard looks finished year round and you stop fighting bare spots. This approach also reduces water use because you are not trying to push turf where it does not want to live. Soil work matters more in shade Shady soil stays cooler and can hold moisture longer, yet it often starts compacted after construction. Loosen the top few inches. Blend in compost across the surface, then rake level. You are not tilling a farm field. You are opening up the root zone so water moves through and oxygen reaches roots. In beds, add a little more compost than you would for turf and set plants slightly high to avoid soggy crowns. Finish with mulch from our Mulch page to keep temperatures steady and slow evaporation. Irrigation that respects shade Sprinkler systems are usually set for the sunniest zone, which overwaters everything else. Shade needs less frequent, deeper drinks. Run a short cycle in the early morning, then wait and check the soil with a probe. If the top few inches still feel damp by evening, you can skip the next run. In tree beds, water at the drip line rather than right at the trunk. In narrow side yards shaded by fences, watch for puddling along the low edge and reduce run time there. If you are hand watering, a simple hose-end sprinkler placed for thirty minutes in the early morning is often enough. Plant choices that thrive under trees In our area, light shifts not only by season but by tree species. Live oaks cast moving, dappled shade that many plants enjoy. Smaller ornamental trees like crepe myrtles allow bright morning light and soft afternoon light. Build plant groups that use those windows. Broad, glossy foliage reads clearly from the street. Fine textures fill gaps and soften edges. Use flowers for seasonal highlights rather than the entire show. Healthy green feels lush in shade even when blooms are between cycles. If you want help pairing shapes and bloom times for your exact light, come walk the options on our Flowers, Plants, and Shrubs page or visit the nursery and we will talk through your layout. A simple path to installing shade-friendly turf Begin by clearing debris and lowering high spots that would block flow. If roots of mature trees are near the surface, do not cut them. Add a shallow layer of compost, then rake a smooth plane. Pre-water the soil so it is moist, not muddy. Lay sod in the coolest part of the day and press seams tight. In shade, firm contact is even more important because growth will be slower at first. Water each section as you lay it so it never sits dry. Roll lightly after the first soak to remove air pockets. For the first two weeks keep the surface evenly moist. Then switch to deeper, less frequent watering as roots knit. Mow high and take off only a little at a time. Longer blades gather more light, which matters in these conditions. Beds that look intentional, not busy A shaded yard does best with a calm layout. Aim for wider bed shapes with gentle curves rather than skinny strips that dry out. Repeat a few plant types across the space so the eye reads unity. Use edging that is easy to maintain. A clean spade edge works well where roots are shallow. For a permanent border that will not wash out, choose a small load from our [Landscape Rocks] options and set a subtle line. Top beds with two to three inches of mulch, then pull mulch back from stems by a couple of inches to prevent rot. Refresh the top inch once a year to keep it tidy and keep weeds down. Maintenance that fits the light you have Shade lawns do not want the same schedule as open fields. Fertilize lightly and less often. Heavy feeding pushes soft growth that attracts fungus when nights are humid. Keep blades sharp and mow at the higher end of the recommended height for your grass type. Remove fallen leaves before they mat down. Thin layers are fine for a week or two. Thick layers can smother turf. After storms, lift branches and clear gutters so downspouts do not dump onto one spot and turn it into a wet patch. Seasonal rhythm for year one and beyond In spring, trim back shrubs that block new light and top dress thin turf areas with a light sprinkling of compost. Early summer, check irrigation coverage before heat arrives. Adjust heads that now spray tree trunks rather than turf. Mid to late summer, watch for wear along paths where people take the same line to gates. Add a stepping path or a narrow gravel ribbon so the lawn can rest. In fall, refresh mulch and add cool-season color where you want a lift. Winter is a good time to reshape beds because leaves are down and you can see the bone structure of the space. Use that view to simplify, not complicate. Project planning for new construction and job sites New homes often have compacted soil and young trees that cast thin shade now but will create a different yard in five years. Plan for both moments. Choose a turf that fits the current light and be ready to transition a few zones to beds later as the canopy fills in. On active job sites, coordinate delivery so pallets land where crews need them without blocking trades. Mark irrigation boxes and new valve heads so equipment does not crush them. We can schedule morning drops through our Delivery Service and set materials close to the work to save time and strain. Quantities without a calculator For sod, measure length by width and add a little for cuts. Rounding up is safer in curves and around tree rings because tight seams look better in shade. For mulch, two to three inches is the sweet spot. Less will not hold moisture. More can smother roots. One cubic yard covers about one hundred square feet at three inches. For rock borders, a thin ribbon goes a long way and makes maintenance easier. One ton of small gravel covers roughly one hundred to one hundred twenty square feet at two inches. Pro observations from shaded yards Most problems come from expectations. People try to grow a stadium lawn under a canopy and the lawn argues back. The yards that work feel calm and deliberate. They accept that turf is for the open zones and plants are for the rest. Another common issue is watering every zone the same. Shade needs fewer days, not just shorter minutes. Finally, edges matter. Where turf meets beds, a clean line carries more visual weight than twice the number of plant types. Mistakes to avoid Do not scalp shaded lawns. Cutting low in an effort to let light in weakens turf. Do not pack beds with thirsty plants that look good for a week then fade. Pick sturdy selections suited to low light. Do not lay sod on dry soil in summer shade. The surface may feel cooler but it still draws water from new roots. Pre-water the soil and keep the surface evenly moist during week one. Budget and timeline You can refresh a shade front yard over two weekends. One for bed shaping and soil work. One for sod and planting. Delivery of sod, mulch, and stone saves back and forth trips and keeps the work flowing. We can place pallets near the laydown area when access allows, which reduces wheelbarrow runs. If you are phasing the project, start with soil correction and bed shape. Good bones make everything else easier. Sustainability without extra effort Right plant in the right place is the most water wise step you can take. Compost improves soil structure so water soaks in rather than running off. Mulch keeps temperatures steady and reduces evaporation. Early morning watering reduces loss to wind and sun. A lawn that fits the light needs fewer inputs and stays healthy on a simpler schedule. Quick questions we hear often Can I keep grass under my live oak Yes, if the canopy is thinned properly and the area receives a few hours of light. St. Augustine is the usual pick. If it still struggles, convert the darkest ring to a bed and the rest will strengthen. Why does my shaded lawn get fungus Moist nights, heavy feeding, and close mowing are the usual trio. Ease up on fertilizer, raise the mowing height, and water in the morning only. Will Zoysia work in light shade Yes, in partial sun it does well and looks polished. In heavy shade it will thin. Match the variety to your actual hours of light. Do I need to remove surface roots Avoid cutting large roots. Build shallow beds around them and plant between the roots. Use mulch to protect the area and conserve moisture. How often should I refresh mulch Once a year is typical. Add a light top-up to keep the depth near two to three inches and to keep beds neat. Bringing it all together A lush shade yard is not complicated. It is honest about light, careful with soil, and calm in layout. Choose turf where it can thrive. Use beds where grass will always fight. Water with a schedule that matches each zone. If you want help measuring light or choosing the right sod and plants, stop by Speedy Grass & Nursery. You can also review options on our Sod Types , Mulch , Landscape Rocks , and Flowers, Plants, and Shrubs pages. When you are ready, we will size your order and schedule a delivery to your home or job site through our Delivery Service . Call or visit today and let us get your project growing.
Close-up view of bright green grass blades with a blurred background and sunlight.
December 5, 2025
Materials and tools checklist You can pick up most of these items from us or arrange a delivery. If we do not have something in stock, we do our best to bring it in fast. Sod from our Sod Types page that fits your light and traffic. St. Augustine does well with partial shade. Bermuda loves full sun and heavy use. Zoysia balances beauty with lower mowing needs. Bulk topsoil or soil conditioner for low spots and hard clay. Quality compost for the top inch of the root zone. Starter fertilizer that matches your chosen grass and soil test. Mulch from our Mulch page to freshen beds after the lawn goes down and to hold moisture at tree rings. Stone borders or a small load from Landscape Rocks if you plan clean edges or dry creek accents. Seasonal color and shrubs from Flowers, Plants, and Shrubs if you want to button up curb appeal after the sod is down. Wheelbarrow, steel rake, garden rake, square shovel. Hose and sprinkler or a tuned irrigation system that reaches every new square foot. Lawn roller or a clean water drum for firm contact between sod and soil. Utility knife for trimming edges. Soil probe or long screwdriver to check moisture depth. Step by step plan for Houston conditions Choose the right window Early morning starts are your friend. You can install sod during warm months if you water correctly. Spring and early fall are gentle on new roots, but summer installs can succeed with extra watering and careful staging. Measure and order correctly Square off areas and measure length by width. Add ten percent for curves and cuts. If you are unsure, we can walk the numbers with you and set a delivery time that fits your crew or weekend plan. Improve the root zone Remove debris, old thatch, and weeds. Lightly till or loosen the top three to four inches where possible. Blend compost into the top inch. Rake smooth. Fix low spots now so water does not pool later. Aim for a firm surface that still has a little give. Pre-water the soil This is the step many people skip. Deeply water the prepared soil the evening before and again at sunrise. In heat, dry ground pulls moisture out of sod like a sponge. You want the top couple of inches moist but not muddy. Set your first course straight Lay the first row along a straight edge such as a driveway. Pull seams tight with no gaps. Stagger the next row as you would brick. Use a sharp utility knife for clean cuts around beds and sprinklers. Roll and water as you go Light rolling pushes roots into contact with the soil. Water each section as you finish it so the sod never sits dry under the sun. Do not wait until the end to water the whole yard. Check coverage and adjust Lift a corner in a few places and look for full soil contact. Add a handful of soil beneath uneven spots. Press seams together again if you notice gaps opening as the sod settles. First deep soak After the final roll, water long enough for moisture to reach four to six inches deep. Use a soil probe or long screwdriver. If it slides in easily to that depth, you hit the target. Manage the first two weeks Keep sod and the top inch of soil consistently moist. In summer heat this can mean three to four short waterings each day. Short sets keep the surface cool without wasting water. Reduce frequency as roots grab. By the end of week two, shift toward deeper, less frequent watering. First mow When the grass reaches about one third higher than its normal height, give it a light mow with a sharp blade. Do not cut more than one third of the blade length. Bag the first clippings if they are heavy. Sizing and quantity tips Sod A full pallet often covers about 450 to 500 square feet depending on the variety. Measure each zone, add ten percent for cuts, and round up to full pallets to keep seams tight and color consistent. Mulch One cubic yard covers about 100 square feet at a depth of three inches. Beds around new sod do well at two to three inches. Keep mulch pulled back from the first inch of grass along edges. Rock One ton of typical gravel covers roughly 100 to 120 square feet at a depth of two inches. For pathways and drip lines, two inches is common. Use three inches if you want stronger weed suppression. If you want help double checking quantities and pallets, call us. Our team does this every day and can keep you from over or under ordering. If you prefer, we can include everything on one ticket and schedule a single [Delivery Service] drop. Plant and grass selection in our climate Full sun and high traffic Bermuda holds color, takes foot traffic, and recovers quickly. Consider Bimini, Super Sport, 419 Tifway, or Celebration. Mixed light with afternoon shade Zoysia gives a polished look and handles moderate traffic. Emerald and Cavalier have a finer blade. Empire and Palisades give a slightly wider blade and strong drought tolerance. Dappled shade under mature trees St. Augustine is a strong pick for lawns that see only a few hours of direct sun. Palmetto and Raleigh are common choices in our area. Bed and border support Use shrubs and seasonal color that match your light levels and irrigation. Visit our [Flowers, Plants, and Shrubs] page for options that stand up to heat and summer storms. Pro tips from the yard Wet the soil before the truck arrives so the first row never sits on dry ground. Stage pallets under shade when possible and cover with a light tarp between rows on hot, windy days. Tune irrigation zones ahead of time. If coverage is weak at a corner, set a hose end sprinkler there to back it up during week one. Use a roller after the first deep soak. It settles seams and improves root contact. Keep pets off the lawn for two to three weeks. Paw traffic can shear tender roots before they anchor. Mistakes to avoid Skipping soil moisture before install. Dry soil steals water from new sod. Watering only once per day in extreme heat. Surfaces can dry and stress roots. Letting puddles form. Soggy areas can rot seams. Adjust times and move sprinklers as needed. Cutting too short on the first mow. Stress shows fast in heat. Heavy foot traffic in week one. Give roots time to knit. Seasonal care schedule for year one Month 0 to 1 Frequent light water in heat. Reduce slowly as roots deepen. Light mow when ready. Spot treat weeds by hand. Avoid heavy herbicides on very new sod. Month 2 to 3 Shift to deeper watering two to three times per week depending on rain. Begin a regular mowing schedule that fits your grass type. Light feeding if the soil test calls for it. Month 4 to 6 Fine tune irrigation. Watch for hot spots along sidewalks and south facing fences. Add mulch rings at tree bases to protect roots and hold moisture. Touch up edges with a clean spade cut. Month 7 to 12 Adjust for cooler temps. Reduce watering frequency as growth slows. Plan a fall feed only if your grass type and soil test support it. In winter, keep leaves off the lawn and avoid heavy traffic when the soil is very wet. Budget and timeline notes You can install a typical front yard in a day with two to three people if the soil is prepped. Delivery saves time and strain. We can drop pallets close to the work area when access allows, which cuts down on wheelbarrow runs and keeps your crew fresh. If you are balancing other trades on a new build, set your delivery window early in the day and reserve clear space for unloading. We are happy to coordinate with you. Commercial and job site logistics Confirm truck access and turning radius. Mark sprinkler heads and valve boxes so pallets do not crush them. Stage pallets on firm ground close to the laydown zone. Keep a water source within easy reach before the first row goes down. Plan a cleanup sweep for plastic wrap, pallet straps, and cut scraps so the site hands over clean. Sustainability pointers Choose grass that fits your light and traffic so you water less over time. Add compost to the top inch of soil to improve structure and moisture holding in clay. Use mulch rings around trees and along beds to reduce evaporation. Water in the early morning. Less loss to wind and sun. Keep mower blades sharp. Clean cuts reduce stress and water loss. Quick FAQ How soon should I water after the sod is laid Right away. Water each section as you finish it. Then give the whole lawn a deep soak. Can I lay sod in the middle of summer Yes, if you pre-water the soil, stage smart, and keep the surface moist during week one. Summer installs are common in our area. How long before I can walk on it Light use after the first week is usually fine. Wait two to three weeks for regular play. What height should I mow Do not remove more than one third of the blade. St. Augustine and Zoysia prefer a higher cut than many people expect. Bermuda can be kept shorter with more frequent mowing. How do I know if I am watering enough Use a soil probe or long screwdriver. You want moisture four to six inches deep after a soaking cycle. Do I need fertilizer right away Often a light starter is enough. Follow your soil test and the needs of your chosen grass. What if I see gaps at seams Roll the lawn again after a deep soak and press seams together. Top dress slight gaps with a little soil and water it in. Local touch We serve Richmond, Houston, Sugar Land, Missouri City, Katy, and nearby communities. Our sod is locally grown and selected for heat, humidity, and heavy clay soils. If you need help choosing between St. Augustine, Bermuda, and Zoysia, stop by the nursery and we can walk through the options on the spot. You can also review varieties on our Sod Types page. Ready to get your project growing. Call or come by today and we will help you size the order, choose the right grass, and schedule a delivery to your home or job site through our Delivery Service . If you prefer to see the products first, visit the nursery and take a look at our pallets of fresh sod along with Mulch , Landscape Rocks , and Flowers, Plants, and Shrubs to finish the look. We are here to help you do it right the first time.